
Homemade Cottage Cheese with Kefir

This post may contain affiliate links. As an Amazon Associate I earn from qualifying purchases. Read my disclosure policy.
This homemade cottage cheese is made with hot milk and kefir and that’s it. It’s mild and creamy and very easy to make in one pot. Plus, you don’t need a thermometer, cheesecloth, vinegar or any overnight waiting 🙂
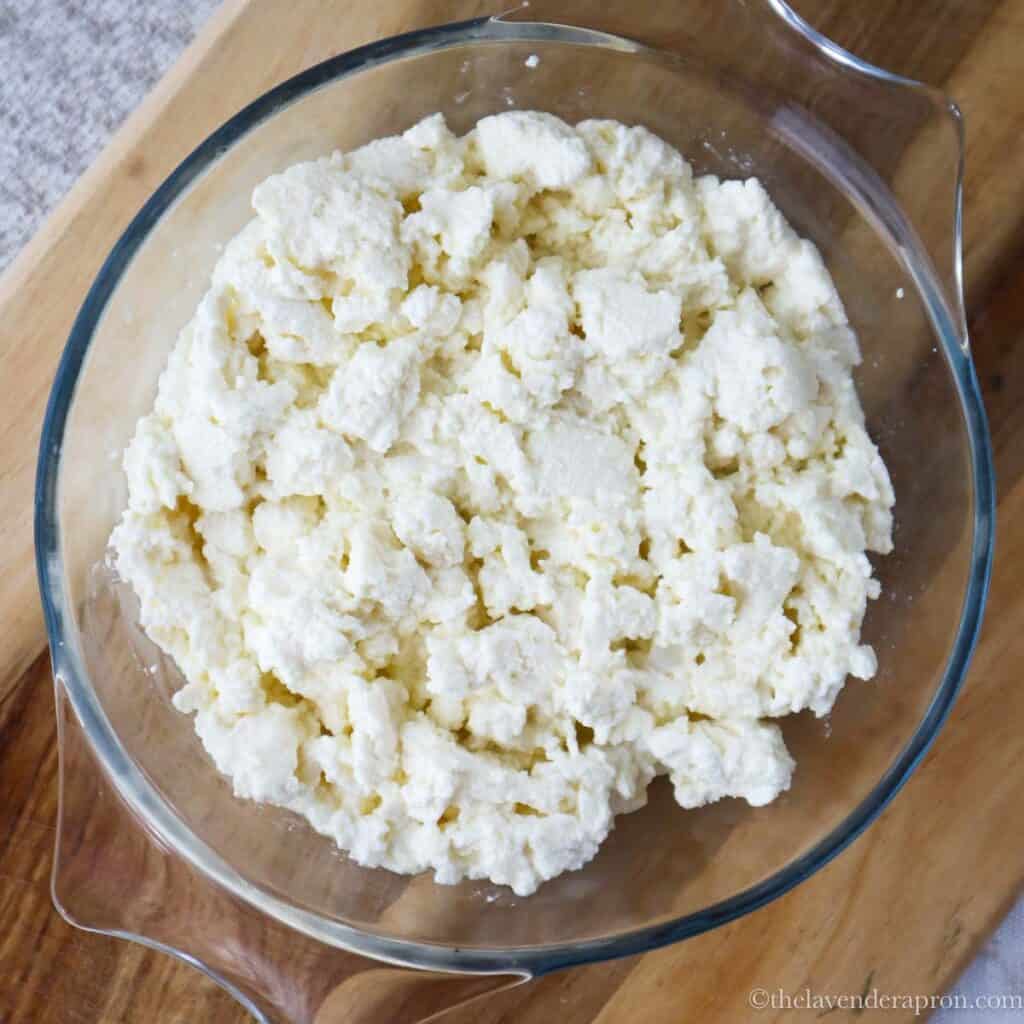
My family is from Latvia, where cottage cheese is called biezpiens, which literally means “thick milk”. I inherited a lot of my mother’s and grandmother’s recipes, and cottage cheese from the supermarket works in them, but it’s only about 90% there. So when I have the time, I prefer to make cottage cheese from scratch using kefir.
This homemade cottage cheese recipe is the way a lot of Latvian home cooks make it now.
Recipe at a Glance
Prep: 5 min | Cook: 15 min | Resting: 20 min | Drain: 30 min | Makes: about 1 lb/400-450 grams depending on how much you drain it.
Why make this recipe: Super easy. Just heat up the milk, add the kefir, wait 20 minutes and drain. The kefir splits the milk and gives a gentle “cottage cheese” flavor. There is no vinegar taste and no need to rinse anything.
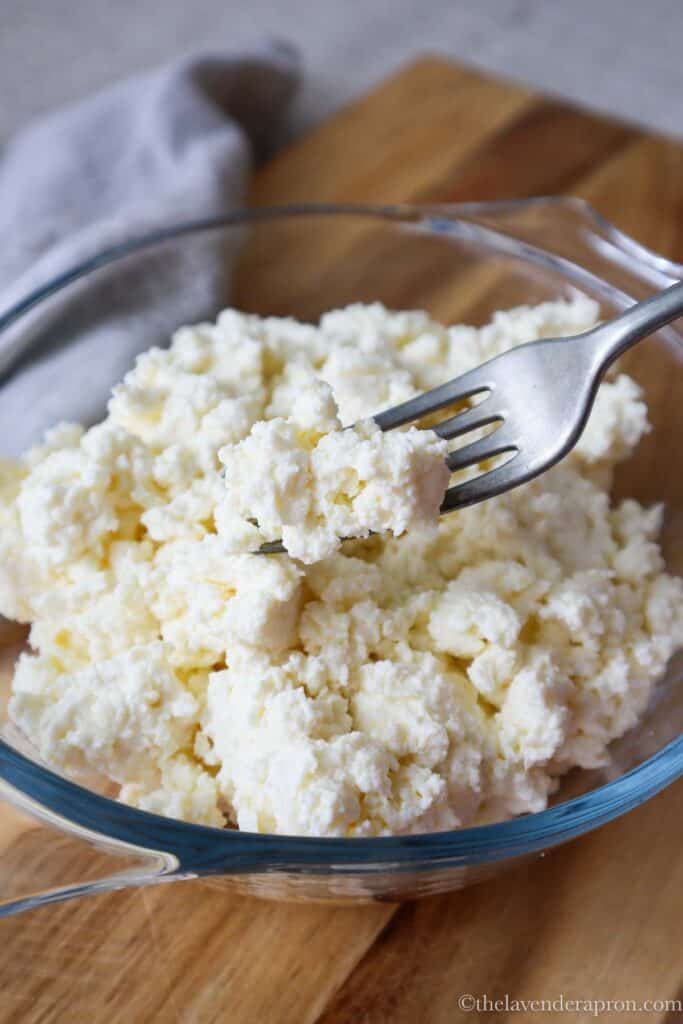
Why You Will Love This Biezpiens Recipe
- Two ingredients – whole milk and kefir (plus salt if you would like some)
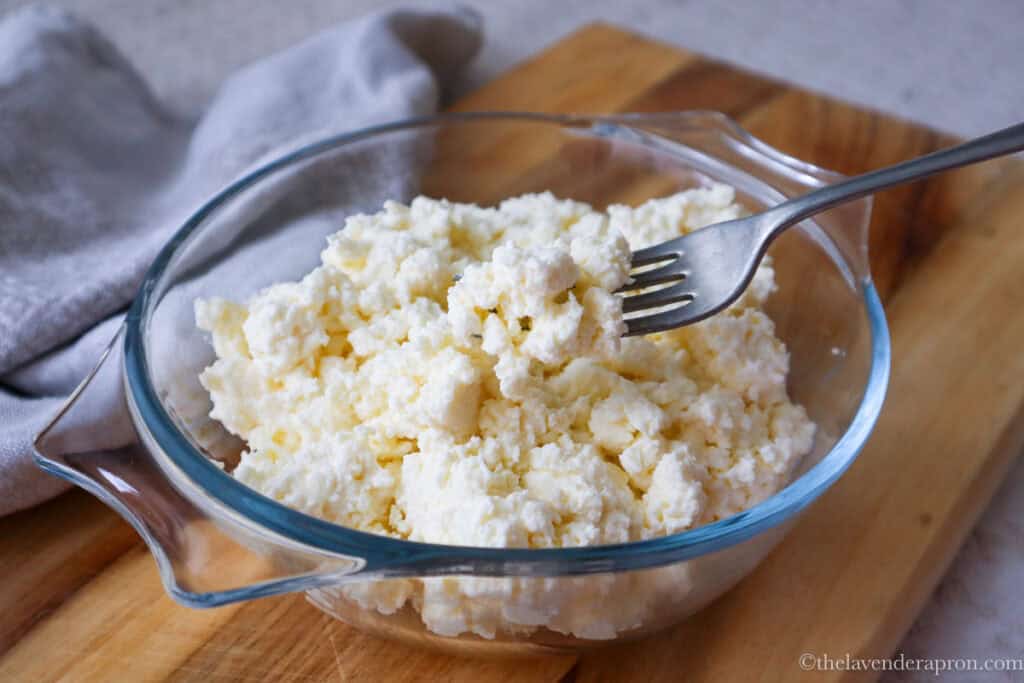
- Creamy – the actual curds came out creamier and a tiny bit softer than the cottage cheese in American and Australian supermarkets, and it is also less “wet”. This will depend on your preference and how long you strain it.
- No additives – no stabilizers, gums, or other strange ingredients, as long as your kefir is just milk and cultures.
Is It Worth Making Your Own Cottage Cheese?
Yes, the taste is better and you know exactly what’s in it. When I made my chocolate-covered Karums copycat bars with both shop-bought and homemade cottage cheese, the homemade one tasted creamier and more like the real thing.
It is also milder than some store-bought cottage cheese, especially in the US (I use HEB cottage cheese, or the Woolworths brand in Australia). I prefer it when I’m baking, or making a dip and don’t want the cottage cheese flavor to overpower the whole dish.
Don’t make your own if you are just trying to save money. Unfortunately, half a gallon of milk and a quart of kefir cost more than ready-made cottage cheese from the supermarket.
Cottage Cheese Without Vinegar: Why I Use Kefir Instead
Many recipes in English split the milk with vinegar or lemon juice, then rinse the curds and stir some cream back in. This is the method I used to use, before kefir became so widely available in supermarkets all over the world.

In Latvia, “biezpiens” was traditionally made by letting farm milk sour naturally into rūgušpiens, a thick fermented milk, then heating it gently to separate the curds from the whey. This modern version is way easier, because the kefir acts as a shortcut for the whole process.
Kefir is fermented milk. When you stir it into hot milk, its natural acidity makes the milk proteins clump together into soft white curds, separating from the yellowish whey. Vinegar and lemon juice can do the same thing, but kefir leaves a gentle cultured flavor instead of a separate vinegar or lemon taste.
You can check out some more Baltic and Latvian recipes.
Vinegar vs Kefir for Cottage Cheese
| Vinegar or Lemon | Kefir | |
|---|---|---|
| Flavor | Plain, or slightly vinegary or lemony if not rinsed | Mild and gently cultured |
| Rinsing | May need rinsing | No rinsing |
| Thermometer | Some recipes need one | Not needed |
Equipment
- Large heavy-based pot – I use my Dutch oven. You can use a thinner based pot, but you will really have to watch the heat and make sure the milk does not burn on the bottom of the pot.
- Metal strainer or colander – You do NOT need a cheesecloth.
- Large bowl – to catch the whey. You will have a lot of leftover whey.
- Small bowl – to sit on top of the curds as a weight, so it drains more quickly.
- Large spoon – to briefly stir in the kefir.
Ingredients
Full amounts in the recipe card below.
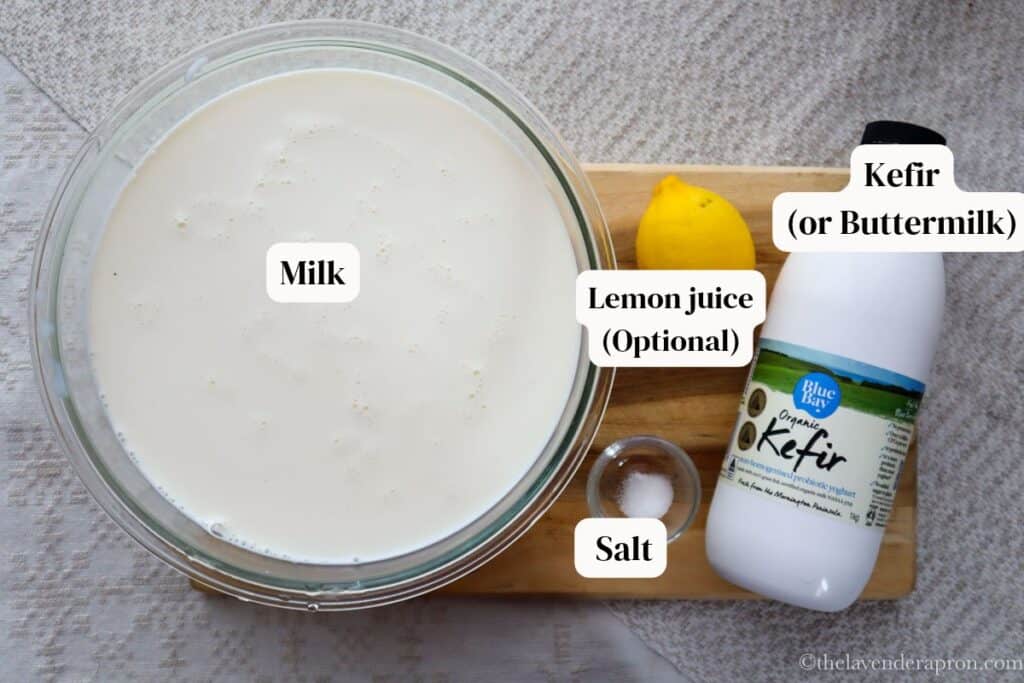
- Whole milk – full cream, from the fridge section. Not UHT, ultra-pasteurized or long-life milk. It won’t form proper curds.
- Kefir – plain, unsweetened and full fat, the kind you can pour. Look for a short ingredient list (milk and cultures). Do NOT use sweetened or flavored kefir.
- Salt – optional. I add ½ teaspoon for savory dishes and none for sweet ones.
- Lemon juice – only as a backup. I have never needed it, but some forums say homemade kefir that hasn’t fermented long enough can be too mild to split the milk. If that happens, stir in a tiny bit of lemon juice or vinegar.
Which Milk Is Best?
Whole milk, because the fat is what makes it creamy. I have not tested low-fat milk yet, but some Latvian recipes use 2% milk, so it should work. It just won’t be as creamy.
Substitutions and Additions
- Buttermilk – I have not tested this yet, but buttermilk is the usual swap for kefir. Use 600 ml (2½ cups) of cultured buttermilk and add 1 tablespoon of lemon juice straight after it. It should taste milder and more buttery.
- Lemon juice or vinegar – if your milk does not split for some reason, stir in 1 tablespoon of lemon juice or 2 teaspoons of white vinegar.
- Sour cream – I have not tried this yet either, but some Latvian recipes whisk a scant cup (200 ml) of sour cream into the kefir for a richer cheese.
- More tang – mine is mild. If you like it tangier, try 1.25 liters (5 cups) of kefir.
How to Make Homemade Cottage Cheese from Scratch Using Kefir
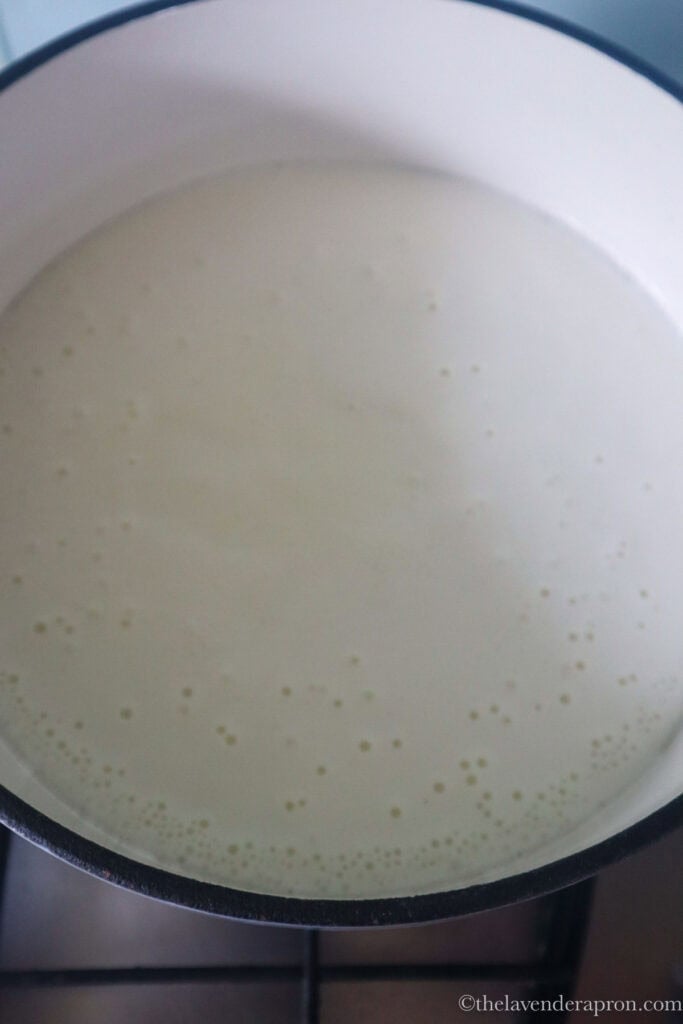
1. Heat the milk. Pour the milk into a large heavy-based pot over medium heat. Stir now and then, until it is steaming and you see small bubbles around the edge, about 15 minutes. Don’t put it on high heat. Milk burns on the bottom fast, and it gives the cheese a bad taste.
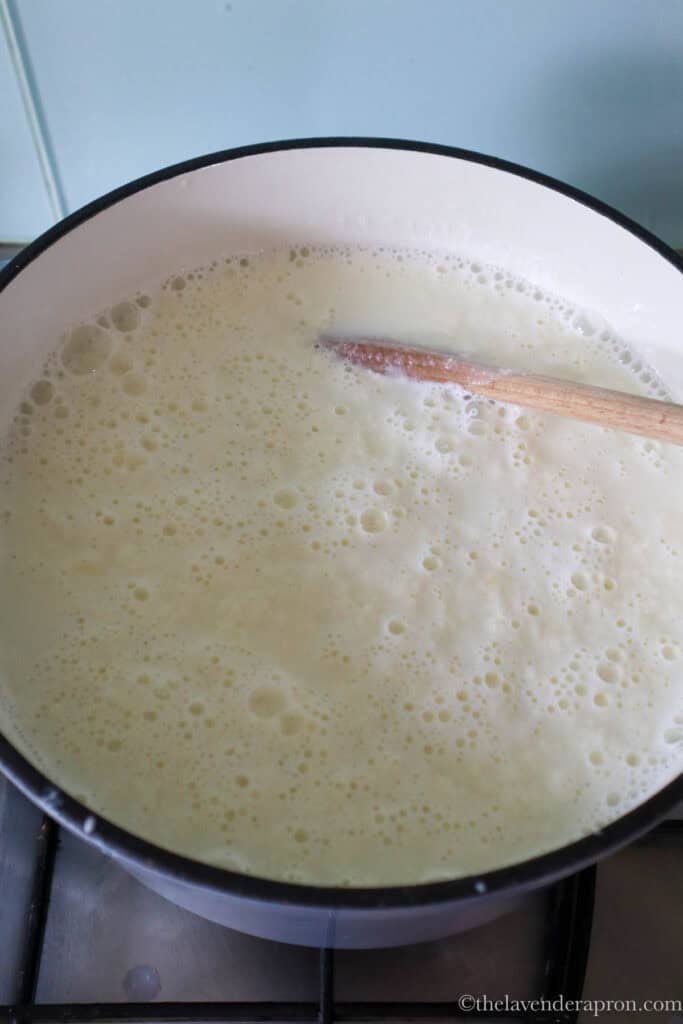
2. Add the kefir. Turn off the heat, pour in the kefir and stir gently three or four times. The milk splits into white curds and yellowish whey almost straight away. Don’t freak out! That is exactly what you want.
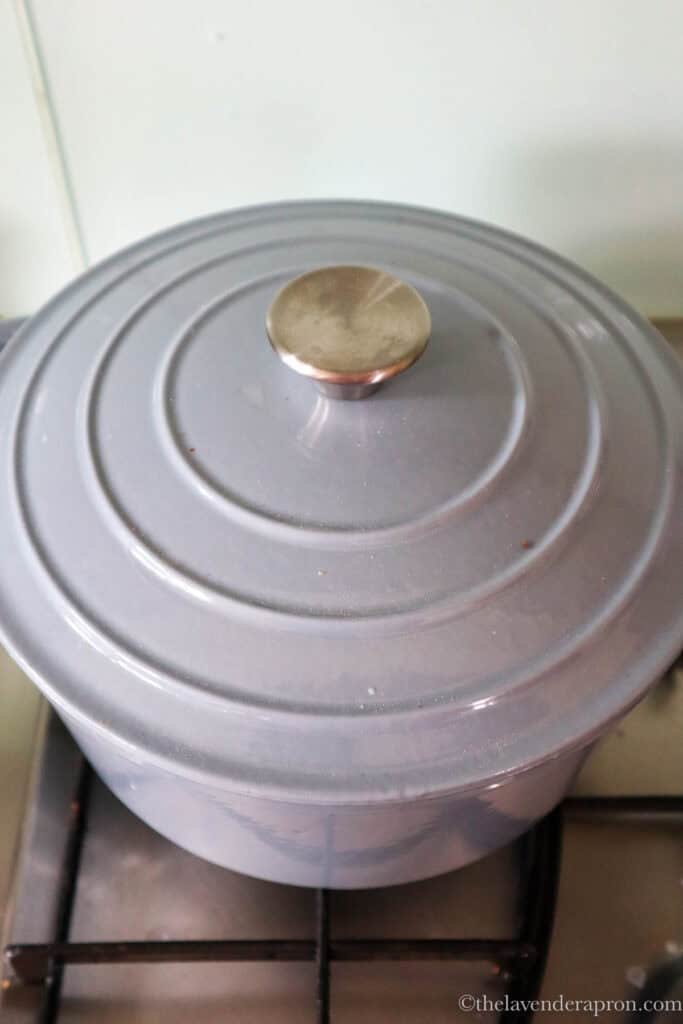
3. Rest for 20 Minutes. With the heat off, put the lid on the pot and let it rest for about 20 minutes, so all the milk solids form and firm up. Don’t stir it, just leave it.
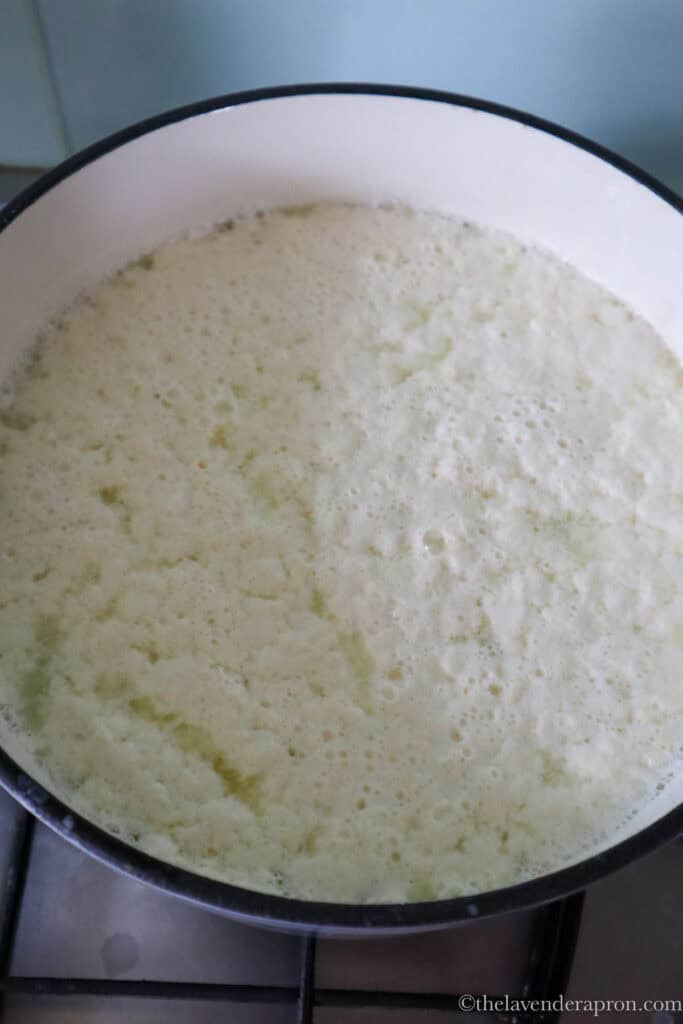
4. Check the whey. It should be clear-ish (or very pale milk color) and with a light greenish yellow tinge. If the whey still looks milky, stir in the lemon juice and leave it another 5 minutes.
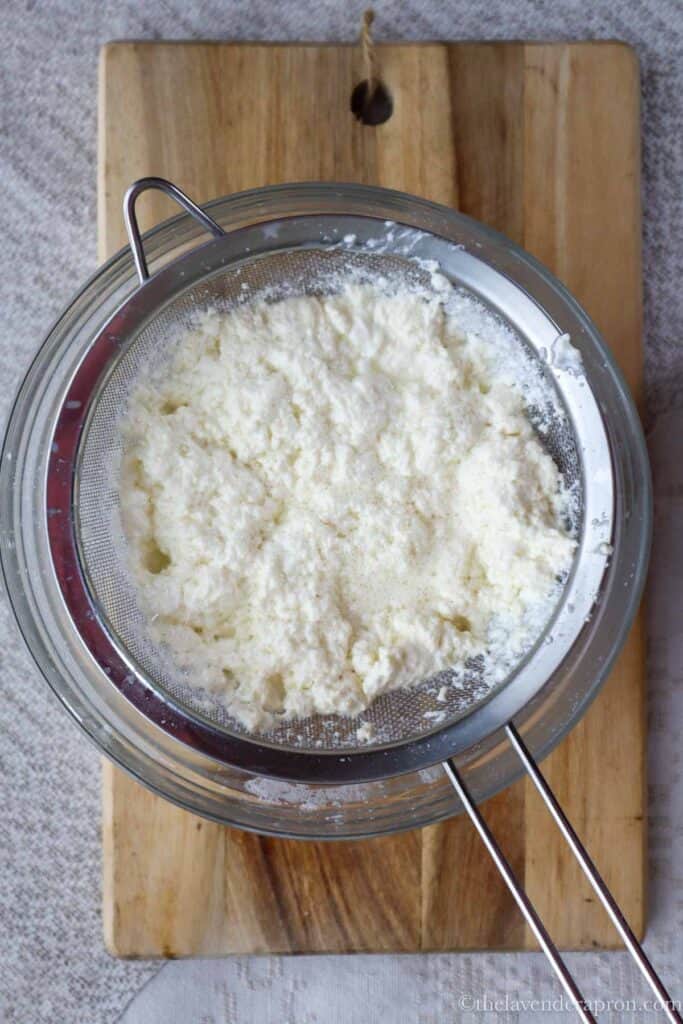
5. Strain the milk curds. Sit the metal strainer over a large bowl and ladle in the curds. There will be quite a bit of whey left over, so it’s easier to do this over a big bowl. Add the salt if using.
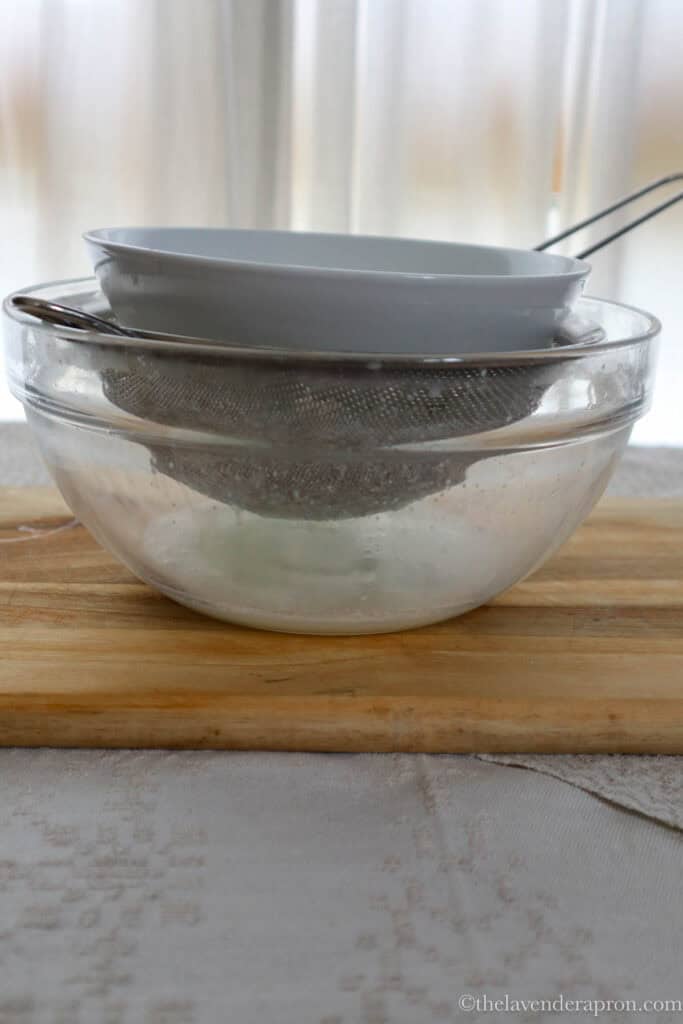
6. Weigh down the curds (Optional). Put a small bowl on top of the curds so it drains more quickly. 30 minutes is usually all you need, depending on how wet you like your cottage cheese. You can drain for longer, even overnight in the fridge, if you want a very dry cottage cheese.
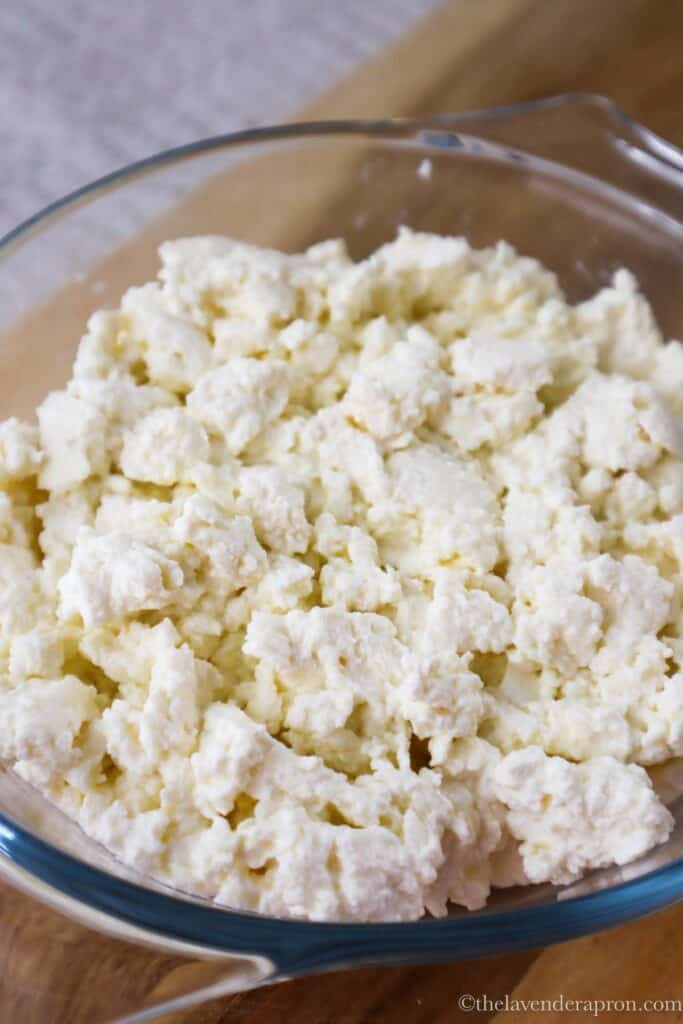
Tips for Creamy Curds
- Stir the milk and kefir mixture gently. A few slow stirs give soft, bigger curds. The more you stir, the finer the cheese, which is fine for baking.
- Don’t boil it after you add the kefir. The curds may turn rubbery.
- Drain longer if you are using it for baking. After 30 minutes it is already drier than supermarket cottage cheese. For fritters or fillings, leave it under the bowl a bit longer.
Troubleshooting
- Why didn’t my milk split? Either the milk was not hot enough or the kefir is a very mild one. Add the lemon juice and warm it gently. Also check the carton and make sure you are not using UHT/long-life milk or ultra-pasteurized milk as they will not work.
- Why does my cottage cheese taste burnt? The heat was too high and the milk caught on the bottom. Use medium heat next time.
- Why is it too wet? Strain it for longer and add a bowl on top for weight so it drains faster.
- Why is there no “tangy” flavor? The level of tang will depend on the brand of kefir you use. You can try a different brand, or you can use more kefir next time.
Ways to Use Homemade Cottage Cheese
I eat it as is, or with a little maple syrup, chocolate shavings or fruit, or as a topping on pancakes. In Latvia it also goes on the table with boiled potatoes, herring and lots of dill.
- Overnight oats – stirred into my maple overnight oats or cinnamon bun overnight oats. They come out creamier and really tasty.
- Dips – whipped up for this avocado cottage cheese dip.
- Open-faced sandwiches – on rye bread or toast, like my favorite red radish and cottage cheese sandwich or try avocado and cottage cheese on toast.
- Mashed potatoes – add cottage cheese to mashed potatoes for added protein and creaminess.
- Baking – in blueberry cottage cheese muffins, three banana cottage cheese muffins or a cottage cheese cake.
- Frosting – whipped smooth and spread on carrot cake or muffins, my naturally sweetened cottage cheese frosting is lighter than cream cheese frosting and needs no butter.
- Cookies – the Latvian classic biezpiena cepumi, which are delicate cottage cheese cookies also known as “goose feet”.
- Chocolate-covered cottage cheese dessert bar – my Latvian “Karums” copycat recipe.
Storage
- Fridge: airtight container, 3 to 4 days.
- Freezer: I have not tried freezing this on its own. I do use it as the main ingredient in some frozen desserts, like my copycat Karums chocolate covered cottage cheese bars, and those freeze very well.
- Whey: keeps about a week in the fridge. Use it in place of the milk or water in pancake batter or bread dough.
Made this homemade cottage cheese recipe? Leave a rating below. It helps other home cooks find it. Every recipe on this blog is made and tested in my own kitchen. You can read more about how I develop and test recipes here. 🙂
Homemade Cottage Cheese with Kefir (Latvian Biezpiens)
Equipment
- 1 Dutch Oven or large heavy-based pot
- 1 large bowl To strain the curds
- 1 small bowl To weigh down the curds
Ingredients
- 8 cups whole milk, not UHT or ultra-pasteurized 1/2 gallon
- 4 cups plain full-fat kefir 1 quart
- 1/4 teaspoon fine salt optional
- 1 tablespoon lemon juice only if needed
Instructions
- Heat the milk. Pour the milk into a large heavy-based pot over medium heat. Stir now and then, until it is steaming and you see small bubbles around the edge, about 15 minutes. Don’t put it on high heat. Milk burns on the bottom fast, and it gives the cheese a bad taste.
- Add the kefir. Turn off the heat, pour in the kefir and stir gently three or four times. The milk splits into white curds and yellowish whey almost straight away. Don’t freak out! That is exactly what you want.
- Rest for 20 Minutes. With the heat off, put the lid on the pot and let it rest for about 20 minutes, so all the milk solids form and firm up. Don’t stir it, just leave it.
- Check the whey. It should be clear-ish (or very pale milk color) and with a light greenish yellow tinge. If the whey still looks milky, stir in the lemon juice and leave it another 5 minutes.
- Strain the milk curds. Sit the metal strainer over a large bowl and ladle in the curds. There will be quite a bit of whey left over, so it’s easier to do this over a big bowl. Add the salt if using.
- Weigh down the curds (Optional). Put a small bowl on top of the curds so it drains more quickly. 30 minutes is usually all you need, depending on how wet you like your cottage cheese. You can drain for longer, even overnight in the fridge, if you want a very dry cottage cheese.
Notes
- Whole milk – full cream, from the fridge section. Not UHT, ultra-pasteurized or long-life milk. It won’t form proper curds.
- Kefir – plain, unsweetened and full fat, the kind you can pour. Look for a short ingredient list (milk and cultures). Do NOT use sweetened or flavored kefir.
- Stir the milk and kefir mixture gently. A few slow stirs give soft, bigger curds. The more you stir, the finer the cheese, which is fine for baking.
- Don’t boil it after you add the kefir. The curds may turn rubbery.
- Drain longer if you are using it for baking. After 30 minutes it is already drier than supermarket cottage cheese. For fritters or fillings, leave it under the bowl a bit longer.
- Fridge: airtight container, 3 to 4 days.
- Freezer: I have not tried freezing this on its own. I do use it as the main ingredient in some frozen desserts, like my copycat Karums chocolate covered cottage cheese bars, and they freeze very well.
- Whey: keeps about a week in the fridge. Use it in place of the milk or water in pancake batter or bread dough.
Homemade Cottage Cheese FAQ
Not quite, but it is very close. Biezpiens is drier and more crumbly, with no cream stirred through it. It is closer to farmer’s cheese or quark.
My recipe here for 1/2 gallon of milk and 1 quart of kefir makes roughly 1 lb (400-450 grams) of cottage cheese, so 1 gallon would make about 2 lb (800 – 900 grams). The exact weight will depend on how much you drain the cottage cheese.
I haven’t tested it. I used normal whole milk from the supermarket fridge section.
Not many, because the heating of the milk and kefir kills most of them off.
